Volvo Amazon did not have headrests as standard until the last year model and then only on the front seats. However, it was previously available as a supplement, and it is also possible to mount a headrest yourself on the chairs that came with model year 1965 and onwards. Headrests reduce the effect of possible whiplash injuries and thus increases the safety of your car considerably.
The following cars have front seats prepared for headrest installation:
P130, ch.nr. from 84.600
P220, ch.nr. from 17.950
The assembly is not very complicated, but remember to be careful and have a clear plan for the work because you will make holes in the chair's upholstery and cannot change your mind.
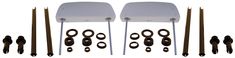
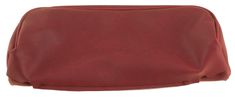
You can find all the parts needed for assembly in the kit with article number "686367-SET". You will also find upholstery in vinyl for the headrest under the respective interior code.
How to mount a headrest:
1. Remove the backrest from the car.
Start by disassembling the chair's backrest, by loosening the screws on the folding bracket and the wheel of the lumbar support. It happens to be much easier to work with the seat outside the car.
2. Remove the upholstery from the backrest.
At the bottom of both sides of the backrest are metal clips that were covered by the folding bracket. These should be removed from the upholstery by carefully pulling them apart with pliers, without destroying them. In order to remove the upholstery, the rail on the underside of the backrest also needs to be loosened a little, which is easiest to do with a screwdriver. Make sure to be careful as it is easy to slop and then damage the upholstery.
3. Cut holes in the foam rubber.
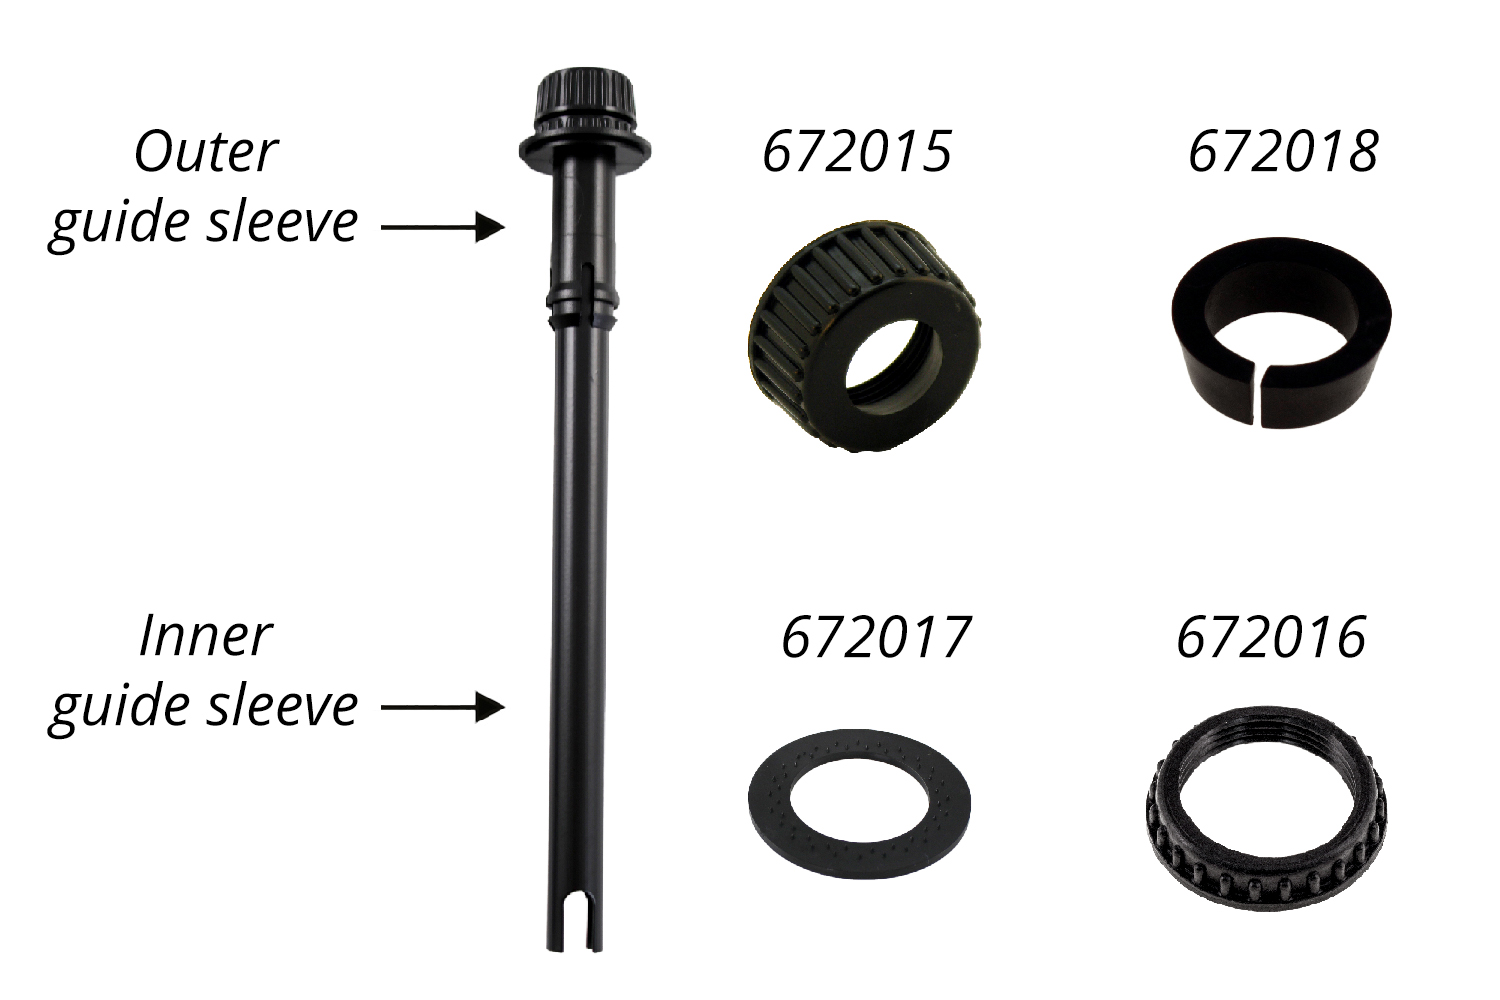
When the upholstery has been pulled off, holes should be cut at the top of the foam rubber so that the pipes can be inserted. First take the inner guide sleeves (the long metal tubes) and then the outer guide sleeves (the plastic tubes).
4. Reinforce the inside of the upholstery.
Measure where the pipes will go through the upholstery by pulling it on and marking with a pencil. Remove the marked upholstery and glue a piece of vinyl, fabric or similar on the inside around the marking. This is to strengthen the upholstery so that the holes that are soon to be made will not create larger cracks.
Before making the holes, pull the upholstery almost all the way back on until you see the outer guide sleeves lightly press against the upholstery from the inside. Double check that the upholstery fits exactly as it should, before marking the contours of the guide sleeve. Then cut holes for these.
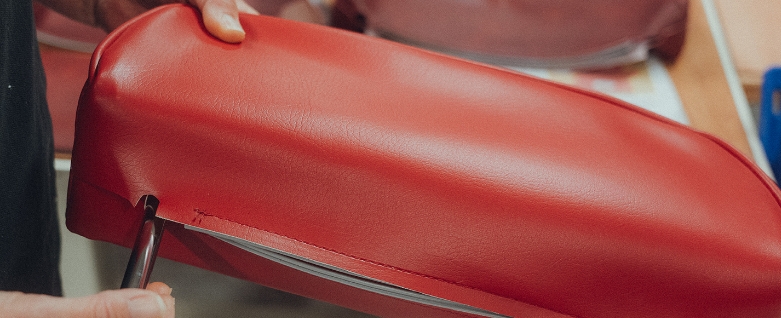
6. Put the upholstery back on.
Pull the upholstery on fully and turn the entire backrest over to secure the upholstery to the rail on the underside using pliers. Be careful not to damage the upholstery, a cloth could be placed between the pliers and the upholstery to avoid scratching it. Reattach the metal clips as well.
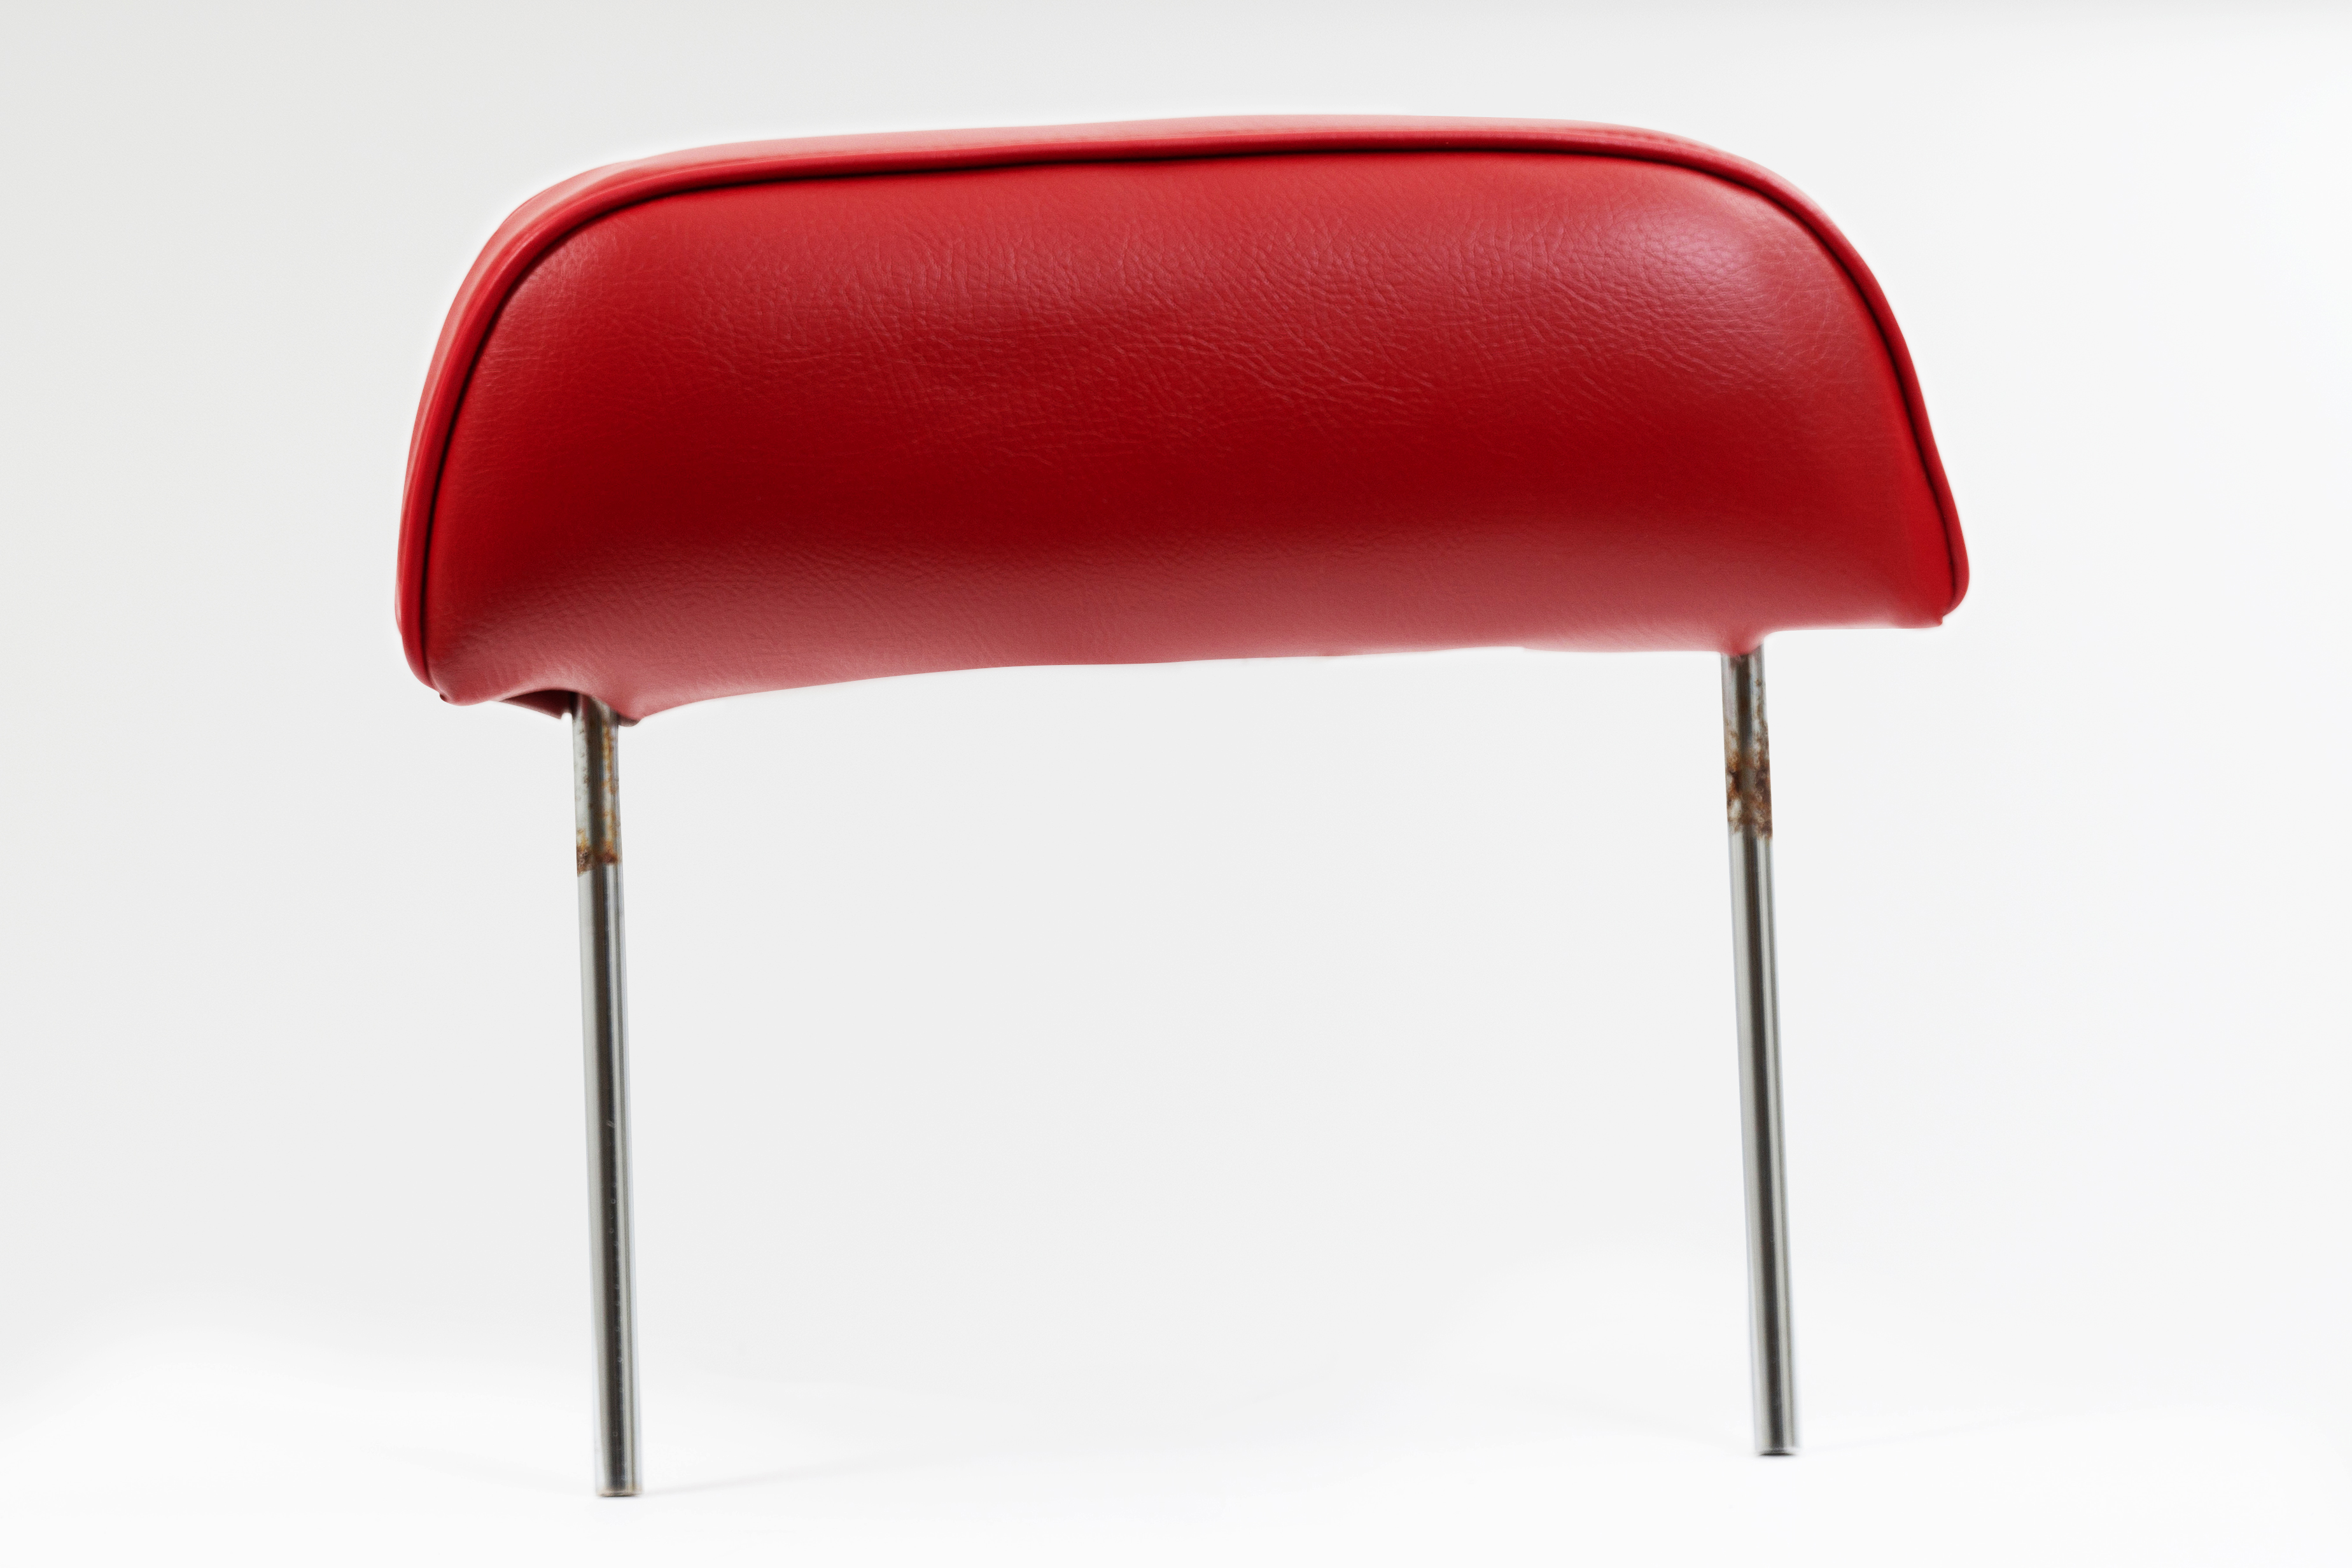
7. Attach the headrest to the backrest.
On the guide sleeves, place washer 672017 (the small spikes downwards) and screw on nut 672016. On the headrest pipes, nut 672015 and locking sleeve 672018 must be attached. Then it is time to stick the pipes of the headrest into the guide sleeves down to the desired level. The nut is retightened to secure the headrest and then it's done.
NOTE: Don't forget to tighten the knob to the lumbar support when reassembling the backrest.